Before you buy a single chair or open a paint can, give yourself the advantage of seeing the room as it will look and feel. Visualization turns guesswork into a clear plan. It shows you what fits, what clashes, and what makes life easier day to day.
Try a modern planning workflow that lets you explore layouts, materials, and lighting in minutes instead of weeks. A simple link that renders your room in the browser is all most clients or family members need to feel confident.
A practical place to begin is with a tool that can show a true scale plan and quick camera views. If you want zero downloads and fast results, explore 3d room design free to sketch, furnish, and walk your space online. The right preview saves money, avoids returns, and keeps momentum through the entire project.
See Your Room First, then Decide
You do not need perfect data to begin. Start with the envelope of the room, add door swings and windows, then place the largest pieces first. This gives you an honest picture of flow. As you move through the design, keep your attention on the problems you want to solve.
Maybe you need more seating for friends, a calmer work corner, or a dining area that does not block traffic. Seeing these choices on screen makes the decision feel simple instead of abstract.
A simple first session
- Trace the room and add measurements.
- Place the anchor pieces like sofa, bed, dining table, or desk.
- Check clear paths around doors and furniture.
- Add two choices for the main focal point and pick one.
Build a Plan that Reduces Mistakes
Mistakes happen when a choice is made without context. The cure is to preview the outcome and compare options side by side. Keep each option focused on one idea. For example, Option A centers the sofa on the window.
Option B emphasizes the fireplace with a better conversation angle. When the difference is clear, your mind recognizes a winner faster.
What to compare
- Layout A versus Layout B with labels that explain why each is strong
- A light palette versus a warm palette for walls and the main fabric
- Two lighting plans, one with focused task light and one with softer ambient light
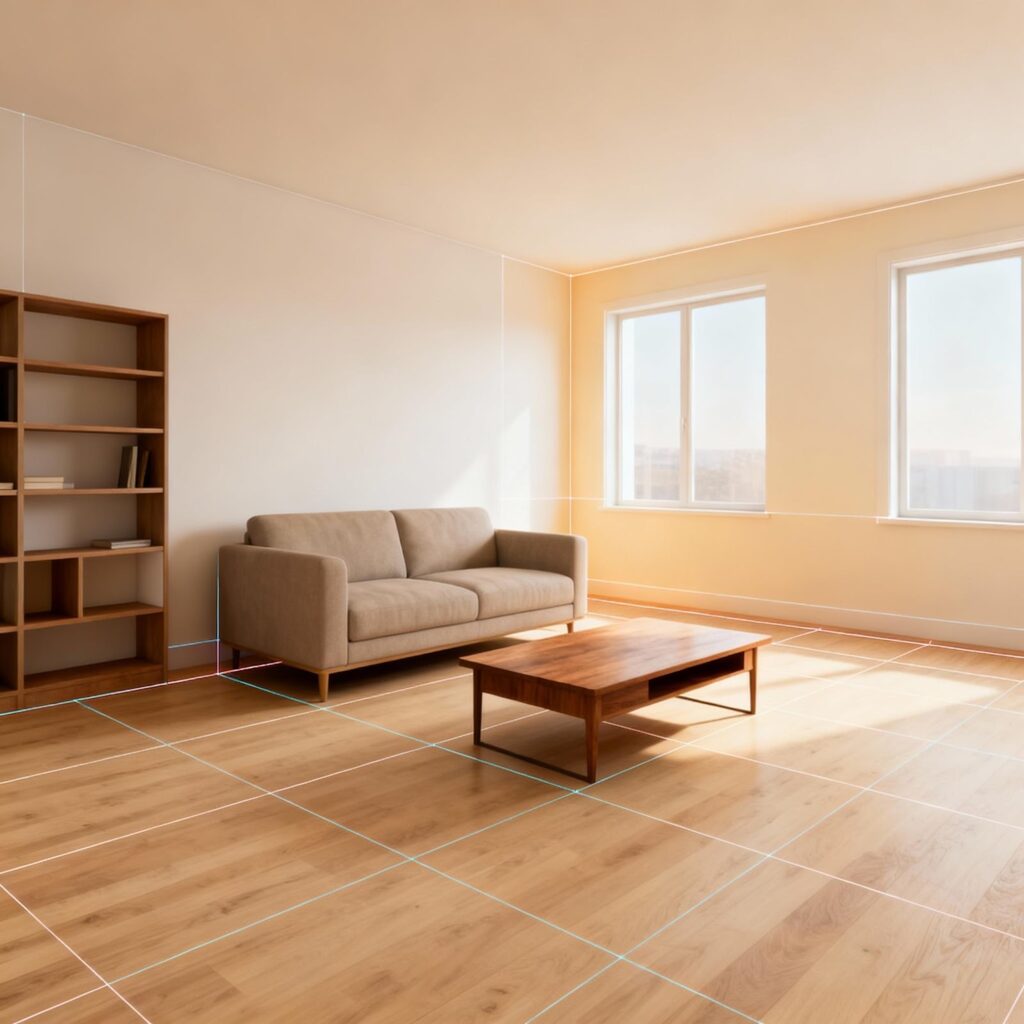
Show Layouts and Flow that Anyone Can Understand
Clients and family members approve faster when they feel the space, not just see a flat plan. Use a first person walk to confirm scale. Then switch to a plan or orthographic view to prove that clearances are correct.
The combination of a walk and a plan gives both emotion and facts. People ask better questions when they can move through the design and then check the numbers.
A quick presentation recipe
- Start with a one sentence intent, like create a calm living area that seats five comfortably
- Show the plan with dimensions and labels for key zones
- Share three camera views that capture light, sightlines, and focal points
- Conclude with a short walk across the room to confirm flow
Explore Materials and Lighting without Risk
Paint chips and fabric swatches can be misleading under home lighting. A digital preview lets you test light levels and color temperature so the room reads correctly during the day and in the evening.
Try a neutral wall with a textured rug and a single bold accent, then flip the recipe to see if a deeper wall gives the balance you want. Small experiments in a visual tool prevent costly experiments at the store.
Make material choices easier
- Limit yourself to two complete material stories at a time
- Evaluate each story with morning, afternoon, and evening light
- Mark the story that feels calm and functional, then commit
Move from Visual to Action without Losing Momentum
A design that only looks good on screen is not enough. Attach simple next steps to every approval. Order samples, confirm a lead time, and set a delivery window. Keep a one page tracker with layout approvals, materials, lighting, and budget.
The tracker keeps you honest and helps others see progress. When momentum dips, share a one screen update with the latest view and a single decision request.
A weekly cadence that works
- Monday share the latest room link and the two choices that matter
- Midweek confirm one choice with a short comment or clip
- Friday send a progress note and the plan for the coming week
Frequently Asked Questions
Do I need exact measurements to start
Begin with the best measurements you have and refine later. Accurate wall lengths and door locations are enough to test layouts and traffic flow. You can fine tune millimeters when you approach purchase decisions.
Can I design without installing software
Yes. Many modern planners run in the browser. You share a link and anyone can view the plan, camera angles, and a quick walk. This lowers friction and speeds up feedback.
How do I keep from creating too many versions
Limit each round to two focused options and ask for action based feedback. Approve, decline, or request a specific change. Close the round with a short recap and a date for the next decision.
Will a digital preview match real life
A preview is a guide, not a guarantee. It helps you see scale, proportion, and light relationships. Always order samples for final color and texture checks under your real lighting.
What is the best way to share with my contractor or designer
Send one link that contains the plan, the three camera views, and a brief rationale. Label versions by date and decision so everyone can track changes and sign off with confidence.